Introduction
In this blog, we will be talking about Biometric validation to add an extra layer of security in our application all the while ensuring the highest level of good user experiences. Before jumping on to the implementation of biometric validation, we will first analyze the need and how this will warrant more security and a sense of privacy to users without compromising the user experience of the application.
The Traditional Approach
Traditionally to safeguard confidential and sensitive information, most applications require the user to sign in. For that, the user enters a username and password, the application sends the credentials to an auth server, and eventually, the server will return some kind of token that will be used by the application to query the remote server for restricted data.
This is fine and perfect in the case of the web interface, but for mobile, we improve the user experience a notch better and have an extra layer of security at the same time. You must be wondering what exactly we are trying to solve here. Let’s take some examples-
- Let’s say our application is per session authentication like financial apps, banking apps, etc., and are in the given flow- the user is asked to enter the username and password every time he/she launched the app. In this case, the user experience will be not that great, as we just can’t save his credential in the app and use them to auto-login because it is prone to malicious fraud.
- Other applications like social networking or emails usually ask for login credentials once and set auto-login for the upcoming sessions. In these scenarios, if any other person has your phone unlocked with them, they can use your account.
The Biometric Approach
All the flaws discussed above can be fixed by safeguarding login credentials under another layer of authentication i.e., Biometric Validation using a fingerprint sensor. This will solve the problem of per session authentication without the user have to enter the credentials every time, they can just use their biometric and a successful validation will enable their saved credentials to auto-login. Even for applications like social networking sites or email, user credentials will be safeguarded by biometric so as to prevent auto-login actions by unauthorized users.
This can also be used in an application with no login flow, like in the case of the photo gallery. This way, one can safeguard their personal information with another layer of security and can ensure next-level privacy. In the coming section, let’s understand how we can add biometric validation to our android application.
Getting Started
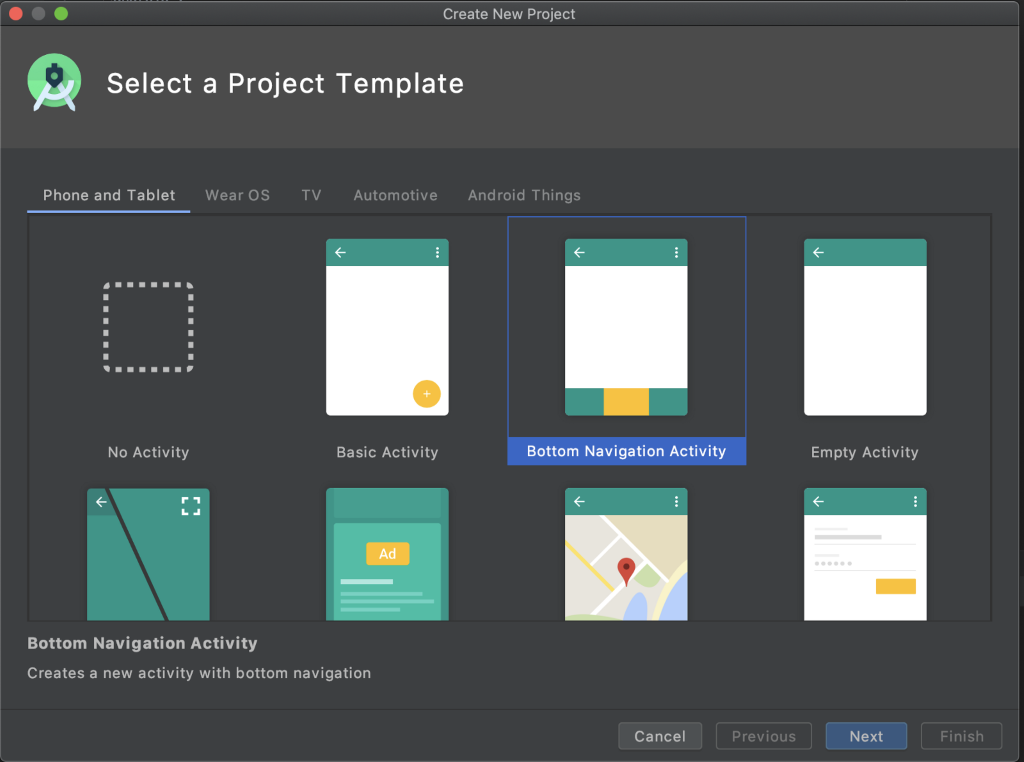
Create a new project and choose the template of your choice.

Choose “Bottom Navigation Activity”, so that you get to see two sets of Biometric validation:
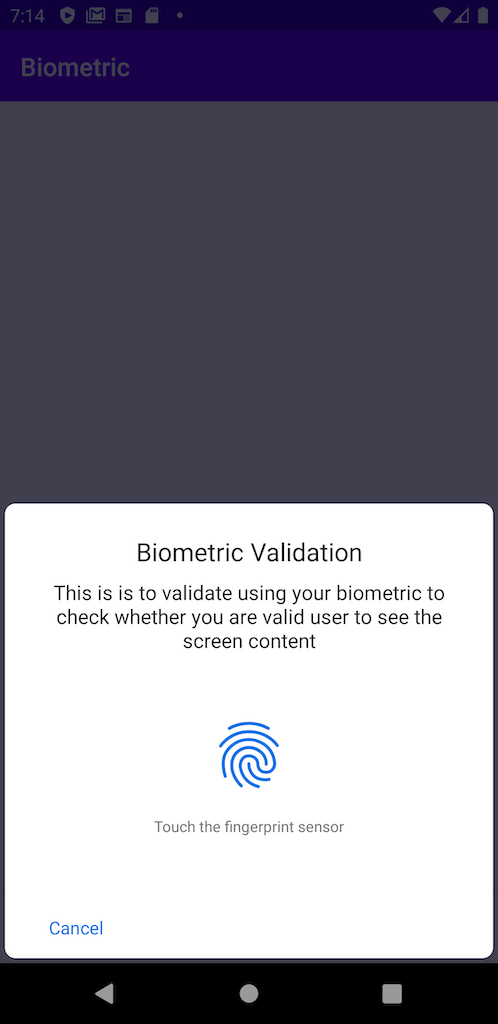
- One with just fingerprint
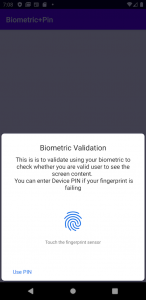
- Another one with fingerprint and Device PIN
You can rename the classes created by this template as per my choice.
Biometric Dependency
open build.gradle (Module: app) and add the following library dependency within dependencies:
implementation ‘androidx.biometric:biometric:1.0.1’
open AndroidManifest.xml and add the following in the manifest element.
<uses-permission android:name=”android.permission.USE_BIOMETRIC” />
sync project by clicking on “Sync Now”.

Setting Up Biometric API
Check for the biometric support available on your device by calling
BiometricManager.from(getContext()).canAuthenticate();
The above method will let you know about the state of your device for biometric validation.
- BIOMETRIC_ERROR_HW_UNAVAILABLE: The hardware is unavailable. Try again later.
- BIOMETRIC_ERROR_NONE_ENROLLED: The user does not have any biometrics enrolled.
- BIOMETRIC_ERROR_NO_HARDWARE: There is no biometric hardware.
- BIOMETRIC_SUCCESS: No error detected
BIOMETRIC_SUCCESS: It means we can use the biometric for validation without any worry.
BIOMETRIC_ERROR_NONE_ENROLLED: It means the user have the biometric but didn’t enable yet, we can let the user know that if they enable it and add their biometric detail they can use the app in a more secure way.
Setting Up Biometric Prompt
Firstly, we need to create an instance executor for running the biometric prompt on the main thread.
Executor executor = ContextCompat.getMainExecutor(getContext());
Build the PromptInfo for the authenticate prompt view
If you wish to have PromptInfo with Device credential allowed, you need to set DeviceCredentialAllowed.
- setDeviceCredentialAllowed: When true, the prompt will fall back to ask for the user’s device credentials (PIN, pattern, or password)
Authentication Callbacks
- onAuthenticationError: Called when an unrecoverable error has been encountered and the operation is complete.No further actions will be made on this object.
- onAuthenticationSucceeded: Called when a biometric is recognized.
- onAuthenticationFailed: Called when a biometric is valid but not recognized.
To authenticate using the promptInfo, add the following line
biometricPrompt.authenticate(promptInfo);
Now the final integration before seeing it in action will be to use the Biometric availability to decide the flow.
- isBiometricEnabled: This means we are all ok to launch the Biometric for validation
- isBiometricPresent: This means we have Biometric available in the device but the user yet not enabled that, We can prompt them about this so that they can decide whether they want to enable it to use the app in a more secure way.

Fig 1- Biometric without PIN option

Fig 2- Biometric with PIN option

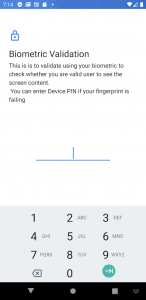
Fig 3- PIN screen of Biometric with PIN option
We went through a detailed explanation of how we can use our biometric credential to hide or safeguard any set of information and we saw it with device PIN as well. In case the Biometric breakdown occurs, one can use the device PIN to access that information.
For more details and an in-depth view, you can find the code here.


